Check if Domain Blacklisted: Methods & Solutions
Learn how to check if your domain is blacklisted and ensure optimal email deliverability.
Understanding Domain Blacklisting
Imagine composing a critical email to a client, only to find it never reaches their inbox. This common frustration may be due to domain blacklisting. But what exactly does it mean if your domain is blacklisted, and how does it affect your email campaigns?
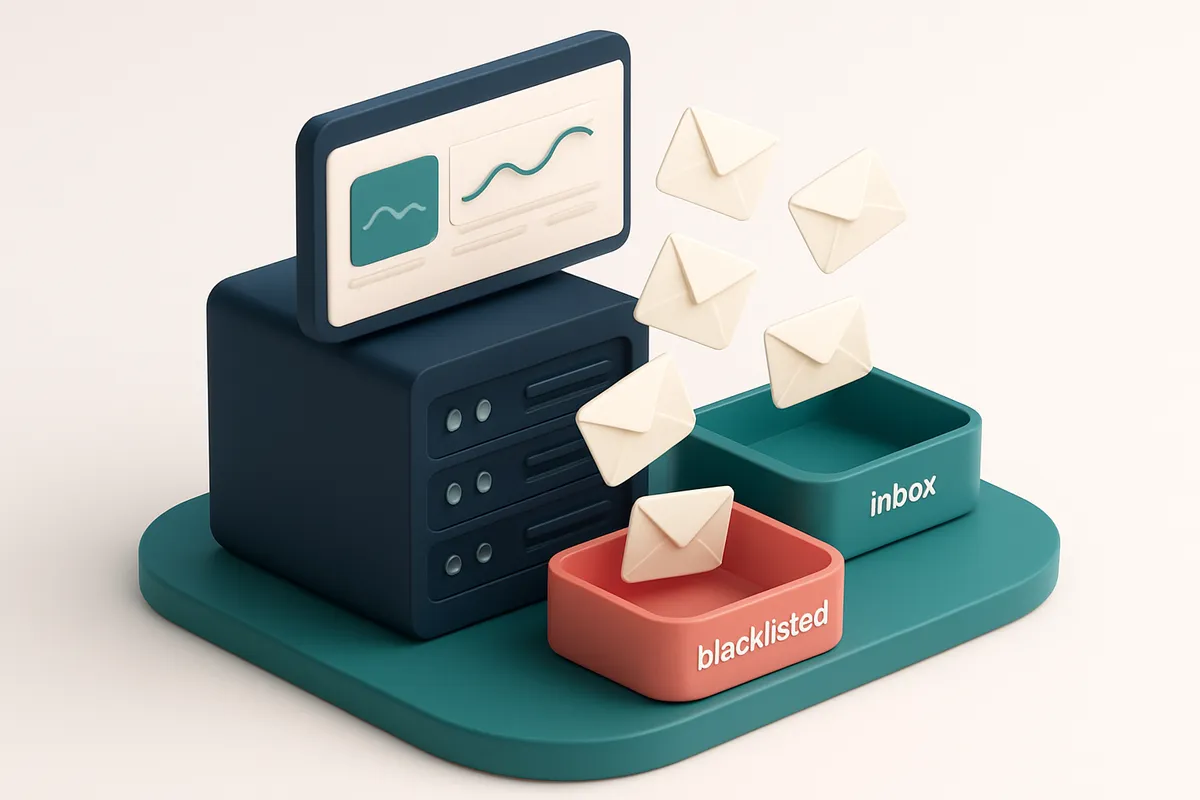
Domain blacklisting occurs when a domain is listed on a blacklist, often due to spam-like activity or poor email sending practices. It's like being on a "do not mail" list, where email providers refuse to deliver your messages. Knowing how to check if a domain is blacklisted is crucial to maintaining your email deliverability.
Being blacklisted not only results in lower inbox placement but can directly impact your business communication and brand reputation. In this article, you'll learn what leads to blacklisting, how to check your domain's status, and steps to prevent or recover from blacklisting.
Key takeaways
- Domain blacklisting can severely impact email deliverability.
- Incorrect sending practices can lead to blacklisting.
- Proactively checking and maintaining your domain's status is essential for effective email communication.
Importance of Checking Blacklist Status
Email blacklists can seem like a minor issue until they start affecting your email campaigns. Checking if your domain is blacklisted is crucial because a blacklisted domain often leads to severe email delivery failures. Imagine crafting the perfect email, only to find out most of your recipients never see it. Frustrating, right?
Preventing Email Delivery Failures
When a domain is blacklisted, emails sent from it are often blocked outright or sent straight to spam folders. This is because many email filters rely on blacklists as a core part of their screening process. If your domain appears on such a list, email providers like Gmail or Outlook may immediately reject your messages. Hence, regularly verifying your blacklist status can prevent you from inadvertently sending emails that never reach the intended inboxes.
Using tools like EmailListChecker's bulk verification can help identify these issues before they lead to significant problems. By catching potential blacklist issues early, you're better able to maintain uninterrupted email communication.
Maintaining Sender Reputation
Your sender reputation is a score that ISPs use to decide whether to deliver your emails. A blacklisted domain can severely harm this reputation, as ISPs view it as a red flag for spamming or other malicious activities. By regularly checking blacklist statuses, you can quickly address any hits to your reputation and take corrective action.
Various factors affect sender reputation, including sending patterns, spam complaint rates, and list management practices. Ensuring clean email lists and consistent domain checks help maintain a good reputation, ensuring your emails are delivered rather than dismissed by spam filters.
Ensuring High Inbox Placement Rates
Having your emails land in the recipient’s primary inbox rather than the spam folder is crucial for engagement. Checkers like EmailListChecker's inbox placement tool can provide insights into where your emails are likely to land. Being proactive with blacklist monitoring positively influences your inbox placement rates, ensuring more of your audience sees your emails.
For broader context, you might find resources like RFC 2821 informative, as it outlines the foundational structure of email delivery and standards. Establishing a habit of checking your blacklist status isn't just about preventing problems—it's a proactive step in refining your overall email strategy.
Regular blacklist checks are not just a precaution—they're an essential part of maintaining effective email communication.
By staying ahead of potential issues through consistent monitoring, you ensure your email activities run smoothly and effectively, preserving your brand’s communication efficiency and reputation.
How to Check if Your Domain is Blacklisted
If you've noticed a dip in email engagement, your domain might be on a blacklist. This can obstruct your emails from reaching inboxes and harm your sender reputation. Here's a straightforward way to identify if your domain's been blacklisted and how you can address it.
Step-by-step Guide to Domain Blacklist Checking
- Identify Public Blacklist DatabasesFirst, you'll want to get familiar with the various public blacklist databases. These databases, like Spamhaus or SORBS, are repositories of domains and IPs flagged for sending spam or malicious content. They're often accessed by email providers to filter incoming emails.
- Manual Check Using Free ToolsUse freely available online tools to manually check these databases for your domain. Websites such as Spamhaus and SORBS provide user-friendly interfaces where you can type in your domain to see if it’s flagged. Keep in mind, on these platforms, a manual approach may limit you to checking one database at a time.
- Automate With Comprehensive ToolsConsider using a specialized tool that automates the process. These tools query multiple blacklist databases simultaneously, offering a quicker, more comprehensive check. By doing this, you’ll be able to get a clearer picture of your domain’s status across various lists. Some tools, like those available through our bulk verification, can simplify this process significantly.
- Understand Free Service LimitationsFree tools can be great for a basic check, but may not provide the depth needed for thorough monitoring. They often lack features like automated alerts or in-depth analytics, which are crucial for ongoing domain management. Consider this when choosing how to integrate blacklist checks into your email strategy.
- Regular MonitoringRegularly check, even when your domain appears clean. Domains can be blacklisted mistakenly and catching these issues early can prevent larger problems. Establishing a schedule for routine checks can help maintain your domain's reputation and improve deliverability.
Conclusion
By understanding and addressing blacklists proactively, you can enhance the deliverability of your emails. For businesses sending high volumes of emails, leveraging automated systems for monitoring can keep operations smooth and efficient. A small investment in your domain's reputation can pay huge dividends in reach and engagement.
Popular Blacklist Checking Methods Compared
When it comes to ensuring your domain isn’t blacklisted, choosing the right tool is crucial. Here, we'll compare a few well-known services: Emaillistchecker.io, ZeroBounce, and NeverBounce.
Feature Overview
Each tool comes with its own set of features. Understanding these can help you decide which option fits your needs best.
| Feature | Emaillistchecker.io | ZeroBounce | NeverBounce |
|---|---|---|---|
| Blacklist Checking | Integrated in deliverability tests | Standalone service | Standalone service |
| Additional Verification | 98.9% accuracy for emails | Email validator | Email validity check |
| Real-time Verification API | Available | Available | Available |
| Pricing Options | Credits never expire | Credits expire annually | Pay-per-use credits |
| Integrations | Mailchimp, HubSpot, Klaviyo, SendGrid | API integrations available | Integrates with multiple email platforms |
Choosing the Right Tool
When deciding which blacklist checking tool to use, it's important to consider how these features align with your workflow. If you need a quick one-time check, a standalone service like ZeroBounce or NeverBounce might suffice. However, if you're looking for integrated verification within a broader deliverability strategy, Emaillistchecker.io may be the better choice.
“Picking the right tool can mean the difference between reaching your audience and hitting a wall of undelivered emails.”
Before choosing, assess what additional features are necessary for your operations. For instance, a real-time API is crucial for businesses that need ongoing verification. Meanwhile, if your workload involves multiple platforms, a tool with wider integrations would be more efficient.
In a constantly evolving digital landscape, staying informed and choosing wisely protects your email reputation and ensures your messages get through. For detailed service comparisons and insights, you may refer to trusted industry resources like IETF.
Interpreting Blacklist Results
Understanding Listing Criteria
When you check if a domain is blacklisted, the results may initially seem complex. But the key is understanding the listing criteria used by each blacklist. Blacklists typically evaluate your domain based on its sender reputation, spam complaints, and other metrics. For instance, a surge in bounced or marked-as-spam emails can flag your domain. Different services use varying criteria, so it's important to familiarize yourself with the specific parameters they use.
For instance, Spamhaus, a well-known blacklist provider, uses a real-time DNS-based system. They focus on aspects like your IP's history and behavior in sending emails. Meanwhile, other lists might prioritize how often recipients mark emails from your domain as spam. Understanding these criteria can guide you in fine-tuning your email strategies and avoiding future listings.
Decoding Score Scales or Risk Levels
Blacklist results often come with score scales or risk levels which symbolize the severity of your domain's listing. Generally, a higher score indicates a higher risk of deliverability issues. These scores are not uniform across all tools. For example, some services grade you on a scale from 0-100 where higher points mean greater danger, while others might use terms such as "low," "medium," or "high" risk levels.
The interpretation of these scores can vary slightly, but they share a common purpose: to help you gauge the urgency of remediation actions needed. If you discover your domain scores highly on multiple blacklists, immediate action is warranted. [RFC 5782](https://datatracker.ietf.org/doc/rfc5782/) provides insights into DNS-based blacklists, further clarifying how different scales work.
Best Practices for Analyzing Results
When analyzing your domain's blacklist results, start by distinguishing between significant patterns and isolated events. Frequent listings or consistently high-risk scores across multiple blacklists suggest systemic issues that need addressing. Actions like improving your content quality, ensuring recipient relevance, and enhancing list hygiene can help reduce future listings.
It's wise to use tools that offer ongoing monitoring services. This helps in spotting new listings quickly and responding swiftly. An email verification service such as EmailListChecker.io's bulk verification can complement this by cutting down unwanted sends, hence reducing the bounces that negatively impact your scores.
Investing time in understanding and interpreting blacklist results can significantly enhance your email deliverability.
Consider integrating authentication mechanisms like SPF, DKIM, and DMARC to further solidify your sender reputation. The combination of proactive monitoring and consistent verification will serve as a sturdy defense against future blacklists.
For those seeking deeper insights, integrating APIs for real-time updates is advised. Explore more about our verification API to see how it can streamline this process. With careful analysis and strategic actions, blacklist events can transform from crises into opportunities for improvement.
Steps to Take if Your Domain is Blacklisted
Finding out your domain is blacklisted can be frustrating. Here’s a step-by-step guide to help you get back on track.
Identify and Fix the Root Cause
First, you need to uncover why your domain got blacklisted in the first place. Common causes include sending too many emails too quickly, emails flagged as spam, or compromised systems sending out malware.
- Review recent email campaigns. Were there any spikes in bounces or spam reports?
- Check your email content for spammy elements like excessive links or aggressive sales language.
- Run a security audit of your systems to ensure no unauthorized access or malicious activity.
- Ensure you’re using authentication protocols like SPF, DKIM, and DMARC. They help prove you’re a legitimate sender. Learn more from dmarc.org.
Submit Delisting Requests to Blacklist Operators
Once you’ve identified and fixed the issues, the next step is to request delisting from the blacklists.
- Visit the websites of major blacklist operators. They usually have a process for delisting requests. Examples include MXToolbox and Spamhaus.
- Provide evidence of your remediation efforts. Include details of the identified issues and the steps you took to correct them.
- Be patient. The delisting process can take time, ranging from a few days to several weeks, depending on the operator.
Monitor Improvements in Email Deliverability
After submitting your delisting requests, it’s crucial to monitor the situation to prevent future issues.
- Use deliverability testing tools to track your recovery. Regular inbox placement tests, like those from Emaillistchecker.io, can provide insights.
- Adjust your email sending practices. Make sure you’re sending to engaged users and cleaning your list regularly. Bulk list verification can help ensure your lists are accurate.
- Continue to monitor for any spikes in bounces or spam complaints. Early detection can help prevent future blacklistings.
Properly addressing the root cause is key to a long-term deliverability improvement.
Tackling a blacklist issue isn't instantaneous, but with these steps, you can recover your sending reputation methodically. Remember, vigilance and proactive list management can prevent future issues.
Maintaining a Good Domain Reputation
Best Practices for Email Sending
Ensuring your emails reach the inbox rather than the spam folder requires a strategic approach. Start with crafting engaging content that recipients want to read. However, content isn’t everything. You also need to follow consistent sending practices to show email servers you’re legitimate.
Stick to sending emails only to recipients who've opted in. This cuts down complaints and protects your sender reputation. Also, regular cleaning of your list helps maintain a healthy email list by removing inactive or invalid addresses.
Frequency is another factor. Sending a sudden spike in emails can raise red flags. Keeping a steady and predictable rhythm supports a positive reputation. It's not about blasting as many emails as possible but sending the right amount to active users.
The Role of SPF, DKIM, and DMARC
To protect your emails from being marked as spam or blocked, implementing SPF, DKIM, and DMARC is crucial. These standards verify that your emails are from you and haven’t been tampered with in transit.
SPF, or Sender Policy Framework, lists which IP addresses are allowed to send emails on behalf of your domain. DKIM, DomainKeys Identified Mail, adds a digital signature to each message, which servers can verify. Finally, DMARC, Domain-based Message Authentication, Reporting & Conformance, specifies how servers handle emails that fail SPF or DKIM checks.
These tools work together to ensure your messages are authentic and reduce the chance of being spoofed. Adopting them can improve your domain’s reputation and deliverability. More on these protocols can be found through resources like RFC 7208 for SPF.
Continuous Monitoring
One-time tweaks aren’t enough; continuous monitoring is non-negotiable to maintain a good domain reputation. With tools like Emaillistchecker.io, you can regularly check if your domain is blacklisted and monitor your sending patterns.
Using a service that provides inbox-placement testing helps you see where your emails land. This kind of insight lets you optimize campaigns before sending. Moreover, keeping an eye on blacklists prevents surprises that could adversely affect your campaigns.
Integrating verification processes into your routine, like those offered by Emaillistchecker.io's verification API, can automate a lot of the heavy lifting. It's about making sure email hygiene is part of your regular workflow, safeguarding your sender reputation effortlessly.
Maintaining a good domain reputation is about consistency, following best practices, and continuous vigilance.
Ultimately, keeping your email strategy sharp means fewer bounces, higher deliverability, and staying off blacklists. A well-maintained reputation does wonders for your email performance.
Conclusion: Ensuring Continued Email Success
Domains being blacklisted can significantly hinder your email deliverability, resulting in wasted resources and damaged sender reputation. Regular monitoring of your domain's status and understanding blacklist implications are vital to maintaining email success.
Proactively checking if a domain is blacklisted helps you address potential issues before they escalate. Staying vigilant keeps your communications flowing and your audience engaged.
Keep reading
- Deliverability, blocklists and sender reputation (complete guide)
- How to Increase Email Deliverability for Podcast Networks Using Verification
- High Deliverability Email Verification for B&B Newsletters
- Real Estate Email Deliverability Audit: How to Check Your List Hygiene
- Improving Email Deliverability Rates for News Websites in 2026
Ready to put this into practice? Emaillistchecker.io verifies emails with 98.9% accuracy — start with 100 free verifications.
Frequently asked questions
What is a domain blacklist?
A domain blacklist is a list of domains identified as sources of spam.
How can a domain get blacklisted?
Domains are blacklisted due to sending spam or having security vulnerabilities.
Why should I check my domain's blacklist status?
To ensure emails reach inboxes and maintain sender reputation.
How often should I check if my domain is blacklisted?
Regularly, especially if changes in deliverability drop.
Can I use free tools to check my domain's blacklist status?
Yes, but free tools may have limitations in depth and frequency.
What should I do if my domain is blacklisted?
Identify the cause, rectify issues, and submit a delisting request.
How does Emaillistchecker.io help with domain reputation?
Offers inbox placement testing and deliverability insights.
What's the difference between IP and domain blacklisting?
Domain blacklisting targets domain names, while IP blacklisting targets specific network addresses.
Do blacklist checks affect my sender reputation?
No, checking your status does not impact reputation.
How does email authentication help prevent blacklisting?
SPF, DKIM, and DMARC validate sender identity, reducing spam classification.
Can blacklisting be prevented entirely?
While challenges can arise, best practices minimize risks.